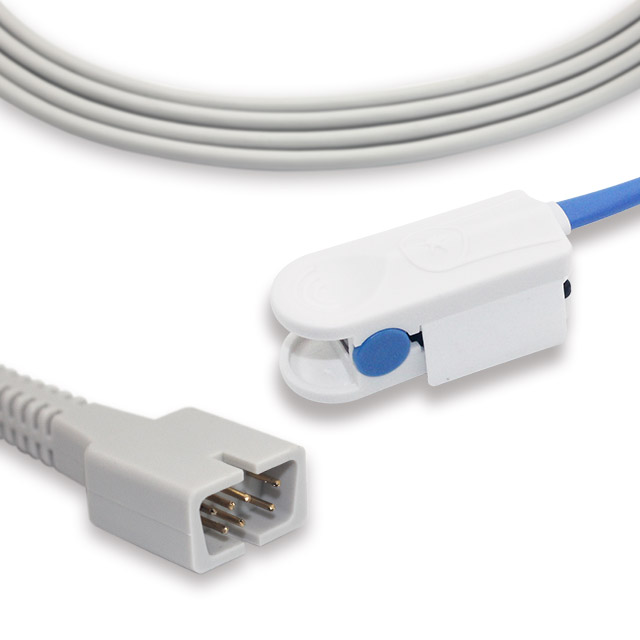
Proper care and cleaning of reusable SpO2 sensors is key to ensuring accurate readings, preventing infections, and prolonging the effective lifespan of your sensors. With some basic maintenance routines to follow between uses as well as before and after each sensor application, you can keep your SpO2 sensors in top working condition.

The first step in caring for your reusable SpO2 sensors appropriately takes place even before placing it on a patient. A visual inspection is essential to check for any physical defects or debris from previous applications.
Look for:
Discard immediately any sensor showing such deficiencies, as accuracy and safety would be compromised. Also ensure batteries are replaced if low, and all connectors are securely in place.
Applying reusable SpO2 sensors correctly prevents many issues down the line. Place the sensor at an anatomical site specified by the manufacturer - commonly a finger, toe, or earlobe. Select an extremity that is well-perfused, avoiding any with impaired circulation, edema, fragile skin, or restrictions like casts or dressings.
The application site should be cleaned thoroughly beforehand to promote sensor adhesion and remove any barriers that could block emitter or detector operation. Hair can be displaced or trimmed if obstructing sensor contact with the skin. Secure the sensor as directed, without over tightening. Observe the patient during monitoring, ensuring the sensor remains properly positioned and skin integrity under the sensor stays intact.
Thorough cleaning after every SpO2 sensor use is vital to prevent carryover of blood, tissue, and other biological fluids or debris that could lead to inaccurate readings or infections. Follow these steps for optimal results:
While cleaning removes visible soil and organic residue from reusable SpO2 sensors, sanitizing processes inactivate any remaining disease-producing microorganisms. Two common options suited for sanitizing sensors include:
Refer to the sensor manufacturer reprocessing instructions for specific approved methods, required concentrations and contact durations of disinfectants or sterilants, allowable cycle parameters, compatibility of sensor materials with proposed solutions, and any effects on sensor performance. Attempting improper or overly harsh sanitization risks permanent sensor damage.
Storing reusable SpO2 sensors correctly between uses promotes longevity. Recommended tips:
With routine cleaning, reuse, and responsible care, quality SpO2 sensors can often tolerate hundreds of applications before needing replacement. However, factors like sensor design complexity, frequency and conditions of use impact usable lifespans.
Watch for symptoms of sensor deterioration:
When such reliability problems emerge, it is generally time to replace the sensor. Also adhere to any sensor expiration dates and maximum reuse limits designated by the manufacturer. Implementing a logged inventory system tracking dates-in-use for each sensor can help guide retirement decisions.
By closely following best practice recommendations for prep, placement, cleaning, storage, and replacement of reusable SpO2 sensors, facilities can expect to safely utilize cost-effective sensors for extended durations. Investing in quality sensor care protects patient safety, optimizes function, and provides excellent return on investment through prolonged sensor lifecycles. Facilitate discussions with Medke's product specialists if any aspect of your sensor reprocessing protocol could use improvement.